MIG vs TIG vs Stick Welding: Which One Do You Actually Need?
MIG, TIG, and stick welding compared for classic car restorers: what each process does, what it costs to get into, and which machine you should actually buy first.
There are three ways to melt two pieces of metal together, and the internet will argue about all of them forever. Here's the short version: for restoring cars, MIG welding is right for about 90 percent of people, TIG is for the welds you want to show off, and stick is for when conditions get ugly. I own all three processes in my shop and I use them for different jobs. This guide explains how each one works in plain terms, compares them head to head, and tells you what to buy first so you don't waste money on the wrong machine.
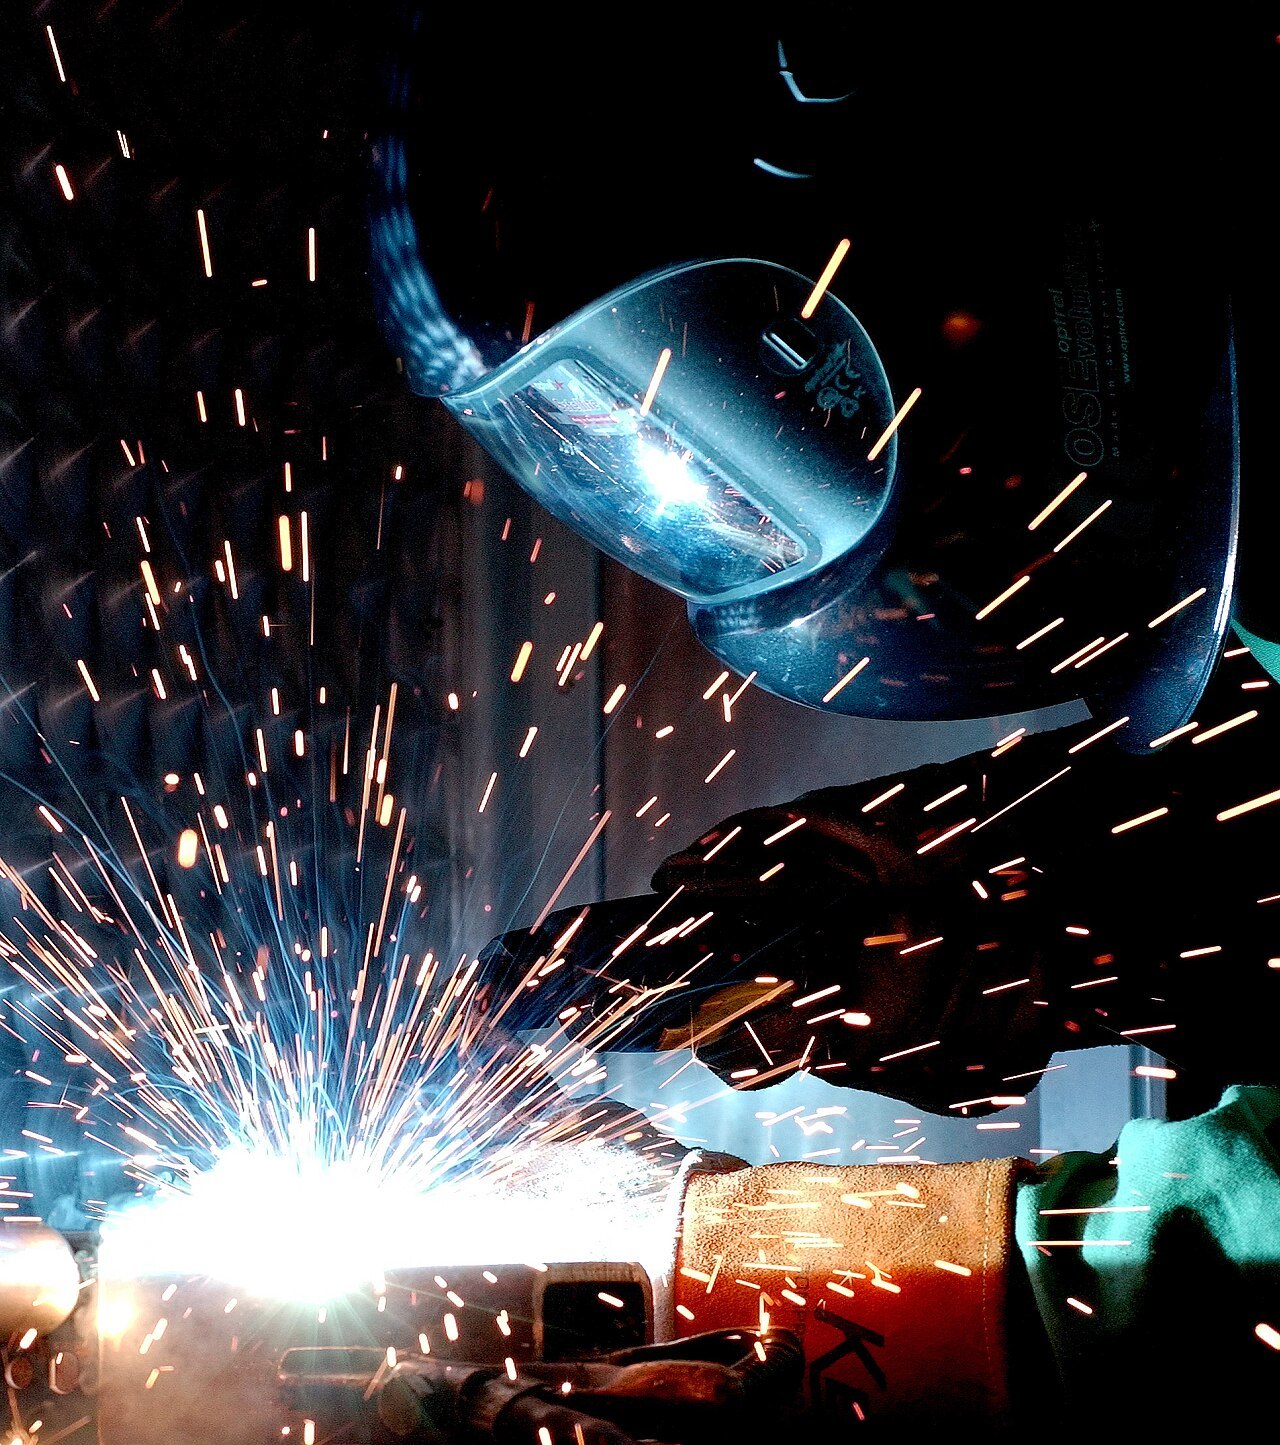
The honest answer up front
For a classic car restoration, MIG is the machine for 90 percent of jobs: patch panels, floorboards, brackets, mounts, exhaust hangers. It's the easiest to learn, the fastest to set up, and the least expensive way to weld sheet metal that doesn't look like a crime scene. TIG produces the prettiest welds but it's slow and demands real practice. Stick is cheap and tough but it burns through body panels in a blink. Unless your project is all show chrome and hand-finished paint, buy a MIG.
How each process actually works
MIG (wire feed). A spool of wire feeds through the gun automatically. You pull the trigger, wire and current flow together, and the weld builds itself. Shielding gas or flux in the wire keeps the weld clean. It's the closest thing welding has to a glue gun — and that's a compliment.
TIG. A tungsten electrode carries the arc while you feed a filler rod by hand with the other hand, and a foot pedal controls the heat. Three inputs at once, all of them moving. The result is precise, clean welds with no spatter, which is why TIG shows up on custom exhausts and aluminum intakes. It's also why TIG is the slowest process here.
Stick (arc). A flux-coated rod is the electrode and the filler in one. The machine is brutally simple and works on dirty, rusty, painted steel that would ruin a MIG weld. There's no gas bottle and no wire feed mechanism to go wrong. The trade-off is slag to chip off and a skill curve that punishes impatience.
Head to head
| Process | Best for | Skill curve | Cost to start | On thin body panels |
|---|---|---|---|---|
| MIG | Patch panels, brackets, floor pans, general restoration | Easiest — decent beads in an afternoon | $300–$600 machine, plus gas bottle | Excellent with gas. The go-to for panel work. |
| TIG | Show welds, aluminum, thin stainless | Steep — hand, rod, and foot pedal at once | $500–$1,200 machine, plus gas | Beautiful results, but slow and unforgiving for a beginner. |
| Stick | Outdoor work, rusty steel, thick frames | Moderate — rod control and slag cleanup | $200–$400 machine | Poor. Burns through 1 mm panels almost instantly. |
These are honest starting ranges, not sticker prices — machines drift with sales and new models (check current price before buying).
Body panels and thin metal
This is where the decision actually gets made. Classic car bodies are 18- to 20-gauge steel — thin, rusty, and full of old paint. MIG with gas is the king of this work: short stitches of low-heat weld lay down clean beads that grind flat and take paint. Flux-core MIG does it too, with a bit more spatter to clean up.
Pro tip: Weld body panels in short stitches — 20 mm of weld, let it cool, repeat. Long continuous beads on thin metal warp the panel, and you'll spend the next hour with a grinder and filler instead of finishing the job.
TIG is the choice when the weld itself is the feature — exposed frame seams, custom stainless, aluminum fabrication. It's also the process to learn if you want thin metal welds with no cleanup at all. But for patching a quarter panel, TIG is like using a scalpel to cut bread. Stick on body panels is a mistake: the heat melts through before you learn the rod control to stop it.
When stick welding wins
Don't write stick off. On a barn find, some days the car is outside, the steel is rusty, and there's a breeze. That's stick weather. The flux coating protects the weld from wind that would blow shielding gas away, and stick burns through rust and paint that would make a MIG weld porous. Stick is also the right tool for thick steel — frame rails, trailer hitches, structural repairs. My stick welder earns its space every time I fix something I can't move into the shop.
What it costs to get in
Be honest about the full cost, not just the machine:
- MIG: $300–$600 for a capable 110V machine (check current price before buying). The Hobart Handler 140 sits at the top of that range and is the default pick among experienced welders. Add a gas bottle rental and regulator later, roughly $100–$250.
- TIG: $500–$1,200 for entry units like the PrimeWeld TIG225 or an Everlast (check current price before buying). Add argon, tungsten, and filler rods. Nothing about TIG is cheap to start.
- Stick: $200–$400 for a solid 110V machine like the Hobart Stickmate (check current price before buying), or watch the classifieds for a used Lincoln AC-225 — those run forever.
Then the stuff that makes any of them usable: an auto-darkening helmet, gloves, clamps, and a grinder with flap discs. Budget another $150–$300 on top. The essential garage tools guide covers the full list.
What to buy first
A 110V MIG that runs flux-core out of the box. It plugs into a normal household outlet, costs $300–$600, and handles everything a first restoration throws at you. Buy one that's also gas-ready so you can add a bottle later — that upgrade makes the biggest single difference to weld quality on body panels. The Hobart Handler 140 is the machine I recommend to friends (check current price before buying); the YESWELDER 135 is the budget pick if cash is tight. Our guide to the best welding machines for beginners goes through the full lineup with the specs that matter.
What about a multi-process machine?
Multi-process machines claim to do MIG, TIG, and stick in one box. They do — with compromises. The TIG on cheap multi-process units is usually DC-only and basic, and switching processes means switching torch setups. They're fine if you want one box to experiment with all three. But for most beginners, a dedicated MIG does everything you need today, and you add a proper TIG or stick machine later when a project actually needs one. That's the upgrade path: start with MIG, and let your projects pull you toward the other processes.
Common mistakes to avoid
- Buying a TIG because the welds look cool, then quitting when the foot pedal fight starts. Start with MIG.
- Welding body panels with stick or flux-core at high heat. Burn-through city.
- Welding outdoors with gas in any breeze. The shielding blows away and the weld goes porous.
- Buying a 220V machine when your garage only has household outlets.
- Skipping practice on scrap. Your first fifty welds should not happen on the car.
- Skipping the auto-darkening helmet. Arc eye is not a lesson you want twice.
FAQ
Can I learn to weld on my own car?
Learn on scrap first. Your first evening of welds belongs on 3 mm flat steel, not a quarter panel. Practice MIG on scrap until the beads are consistent, then move to the car.
Is TIG worth the extra money?
Only if your work actually needs it — show-quality aluminum, stainless, or thin metal where weld cleanup matters. For patch panels and brackets, a $300–$600 MIG does the job better and faster. Buy TIG when a project demands it, not before.
Can I weld outside with MIG?
With flux-core wire, yes. With gas, no — wind blows the shielding away and the weld goes porous. That's exactly when stick welding earns its keep.
What thickness can a 110V MIG weld?
Up to about 5 mm (3/16 inch) steel in single passes, which covers body panels and light structural work. Thicker frame steel means multiple passes, a 220V machine, or a stick welder.
How much should I spend on a first welder?
$300–$600 for a gas-ready 110V MIG. Under that you get weak duty cycles and cheap parts; above it you're paying for features a beginner won't use yet. Spend the difference on a good helmet and clamps.
Conclusion
The welding decision for a restoration is not that hard: MIG covers almost everything, stick covers the ugly outdoor work, and TIG waits until you're good enough to deserve it. Start with a gas-ready 110V MIG, practice on scrap, and let your projects decide what comes next. When the engine side needs attention, our carburetor rebuild guide has that covered too. The Barn Find Garage welds first and polishes later — and your first patch panel will prove the same.