Best Welding Machines for Beginners in 2026 (Tested)
Looking for the best welder for beginners? This guide compares the top entry-level MIG machines from Hobart, Lincoln, Forney, YESWELDER, and Miller, with the specs that actually matter and the gear to buy alongside the machine.
I've owned a lot of welders over the years. Some good, some junk. The good news for beginners is that entry-level MIG machines have never been better or cheaper. The bad news is that most buyers pick on the wrong things: brand hype, flashy features, or the lowest price on the shelf. This is the guide I wish I'd had before my first machine. We'll cover why MIG is the right starting point, the specs that matter, five machines worth your money, and the safety gear you should never skip. By the end you'll know exactly what to put in your garage.
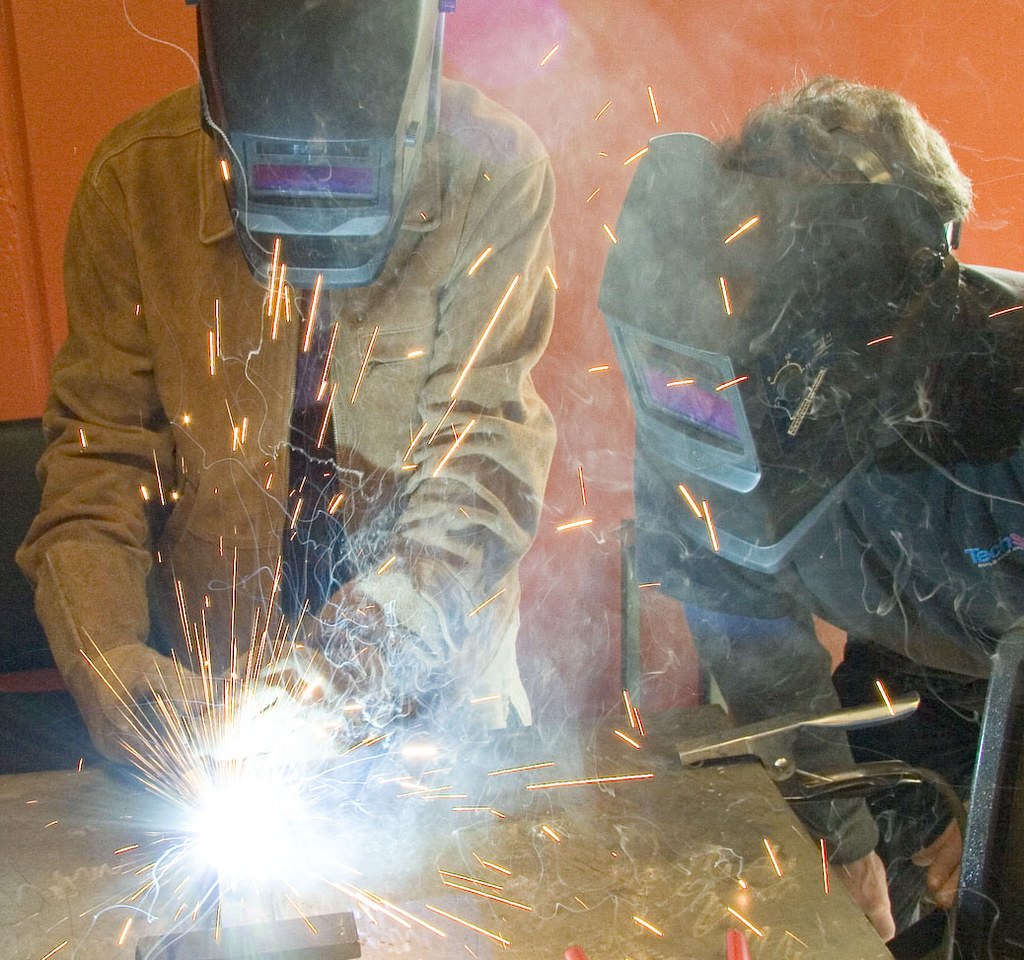
Why MIG is the right first machine
MIG is the easiest process to learn. The wire feeds continuously; you pull the trigger and it welds. Stick welding is cheaper but has a steeper learning curve. TIG produces beautiful welds but is slow and unforgiving. For car restoration, MIG handles the thin sheet metal you'll actually be welding, and most of the machines below cost less than one trip to a body shop.
Flux-core vs gas: which should you start with?
A MIG runs two ways: flux-core wire with no gas bottle, or solid wire with shielding gas, usually CO2 or an argon mix. Flux-core is the cheapest way in. No bottle, no regulator, and it works outside in a breeze. The downsides are more spatter and slightly rougher welds. Gas gives cleaner welds, less cleanup, and better results on thin metal, but you need a bottle rental and a regulator.
My advice: if the budget is tight, learn with flux-core. But buy a machine that does both, because adding gas later is a cheap upgrade and a big step up in weld quality.
Key specs to understand
Three numbers matter. Everything else is marketing.
Duty cycle. How long you can weld continuously before the machine overheats and needs to rest. It's stated as a percentage of 10 minutes. A 20% duty cycle at 90 amps means two minutes of welding and eight minutes of cooling. Fine for hobby work.
Amperage range. More amps means thicker metal. Beginners need up to about 140 amps, which covers body panels and light structural work.
Input voltage. 110V machines plug into a standard household outlet, which is a huge advantage in a home garage. They weld up to about 5 mm (3/16 inch) steel. 220V machines weld thicker metal with a better duty cycle but need a dedicated circuit. For a first welder, 110V is almost always the right answer.
What about dual-voltage machines?
A few machines, like the Miller Millermatic 211, run on either 110V or 220V with a plug change. They cost more, but they're future-proof: start on a household outlet, move to a bigger circuit later without buying a new welder.
The best beginner welders compared
These are the machines I'd actually recommend, in rough price order. Prices move around, so treat these as ranges and check current prices before buying.
| Model | Power | Best for | Notes |
|---|---|---|---|
| YESWELDER 135 | 110V | Tightest budgets | Flux-core machine, surprisingly capable for the money. Some versions are gas-ready; check the exact model. |
| Forney Easy Weld 140 | 110V | First-time buyers | Simple controls, solid steel case, good support. A dependable 110V workhorse. |
| Hobart Handler 140 | 110V | The default pick | The machine most experienced welders recommend to friends. Clean arc, runs flux-core or gas, parts and support everywhere. |
| Lincoln Electric Weld Pak 140HD | 110V | Lincoln loyalists, light fabrication | Comes with accessories in the box, smooth flux-core performance, from a brand with decades of history. |
| Miller Millermatic 211 | 110V or 220V | The step-up pick | Dual voltage, so it runs on either outlet. Costs more, but it's the machine you won't outgrow. |
If I had to pick one for most beginners, it's the Hobart Handler 140. It's the machine every experienced welder I know recommends to friends, it runs flux-core out of the box, and it switches to gas later (check current price before buying). The YESWELDER 135 is the budget pick if cash is tight. The Millermatic 211 is for people who plan to weld for the next twenty years.
Safety basics: before you strike an arc
Welding burns things: your eyes, your skin, and your garage. The arc is bright enough to give you arc eye, a genuinely painful sunburn on the eyeball, even from reflected light. Never weld without a proper welding helmet. Cover all skin. Work in a ventilated area. Keep a fire extinguisher close and watch where sparks land. Grinding and welding near flammables has burned down more than one shed.
Pro tip: Set your heat with test welds on scrap of the same thickness as your real work. Two minutes of testing saves an afternoon of grinding out bad welds. When you find settings that work, write them on the side of the machine in marker.
What to buy with the welder
The machine is only half the cost. Budget for these:
- Auto-darkening welding helmet. It darkens the instant the arc strikes. A $40–$100 helmet is fine to start; the expensive ones add comfort, not skill.
- Welding gloves. Leather, at least for the hand holding the torch.
- Chipping hammer and wire brush. For knocking off slag and cleaning welds.
- Clamps. The more the better. Welding is half about holding things still.
- Grinder with flap discs. For cleaning metal before you weld and finishing welds after.
That's roughly $100–$250 extra depending on how fancy you go (check current price before buying).
Common mistakes to avoid
- Buying a machine your power supply can't feed. Check your garage outlets before you buy anything 220V.
- Welding dirty metal. Paint, oil, and rust make weak, porous welds.
- Skipping the helmet. Arc eye is a lesson you don't want to learn twice.
- Starting on thin body panels. Learn on 3 mm scrap first.
- Chasing the cheapest filler wire. It rusts and jams.
- Not testing settings before welding the real part.
FAQ
Should I buy a 110V or 220V welder?
110V for a first machine. It plugs into a standard household outlet, covers everything a beginner will weld, and you can step up later. Go 220V only if the circuit already exists and you know you'll be welding thick metal regularly.
Gas or flux-core for a beginner?
Start flux-core if you want the cheapest possible setup: no bottle, no regulator. If you're welding car body panels, gas gives noticeably cleaner welds on thin metal. Buy a machine that does both, learn with flux-core, and add gas when the budget allows.
Can I weld car body panels with a beginner welder?
Yes, and this is exactly what these machines are good at. Use the lowest power settings, weld in short stitches rather than long beads, and practice on scrap sheet metal first. Thin metal burns through fast until you get the feel for it.
What's the best first welding project?
A welding cart or a simple workbench. It's all flat, forgiving steel, and you end up with something useful. Practicing on your actual car is how you learn to grind mistakes out of fresh paint.
How long does it take to learn to weld?
You'll lay acceptable beads after a few evenings of practice. Clean, consistent, load-bearing welds take months of regular practice. The first week is the steepest part; after that it's refinement. A MIG machine like the Hobart Handler 140 is the easiest path in (check current price before buying).
Conclusion
A good beginner MIG welder pays for itself on the first job you'd otherwise have sent to a shop. Start with a 110V machine from the table above, budget for a proper helmet, and practice on scrap before you touch the car. Pair it with the essential garage tools guide and our classic car restoration guide, and you have everything you need for a first project. The Barn Find Garage started with a welder, a grinder, and a questionable car. Yours can too.